
The roof tool
in Revit is a very simple tool to use but you can get some very complex and
interesting roof designs from it. In this tips & tricks we are going to
cover how to create a Mansard Roof
 You may not have noticed this before,
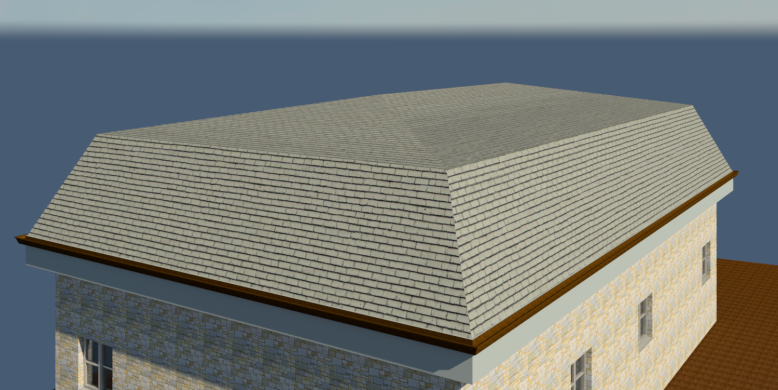
but Revit has the ability to “Cut” a roof at a pre-set height. This is
extremely useful if you are trying to create a roof shape similar to that in
the image to the Right:
You may not have noticed this before,
but Revit has the ability to “Cut” a roof at a pre-set height. This is
extremely useful if you are trying to create a roof shape similar to that in
the image to the Right:
This process
consists of three simple steps;
follow these steps to get a similar output:

Step 1: In
your project, go to an elevation view, and add in a Level at the desired “Cut
off level”, as shown in the image

Step 2: Go to your Eaves level floor plan view
and sketch in you lower part of your roofs footprint and put in the desired
slope. Before you confirm the sketch, in the Properties, click the drop down list for “Cut off level” and choose the
level you just placed in the elevation. This will cut the roof at that pre-set
level height.

And there you have it, three very simple steps to
creating a Multi Pitched/Mansard Roof. This process can be used to do as many
changes in pitch/slope as you want, it will just take a bit more time to do.
We hope you found this tips & trick article
helpful
Happy
Modelling
TMS Autodesk Team

No comments:
Post a Comment